2 - A Design Document for the 2-D Ising Model part 1
Introduction: This section doesn’t have to be as long as a paper introduction, nor does it have to give as much context. Here we aren’t disseminating information to the community but instead giving a brief overview of what the code should be doing.
Here I present a straightforward (if short) description of the model used to capture the physics. We also give a little forethought into things I might want to tweak later. This list isn’t a complete list of all the things you could change about this model but a small subset that I have chosen.
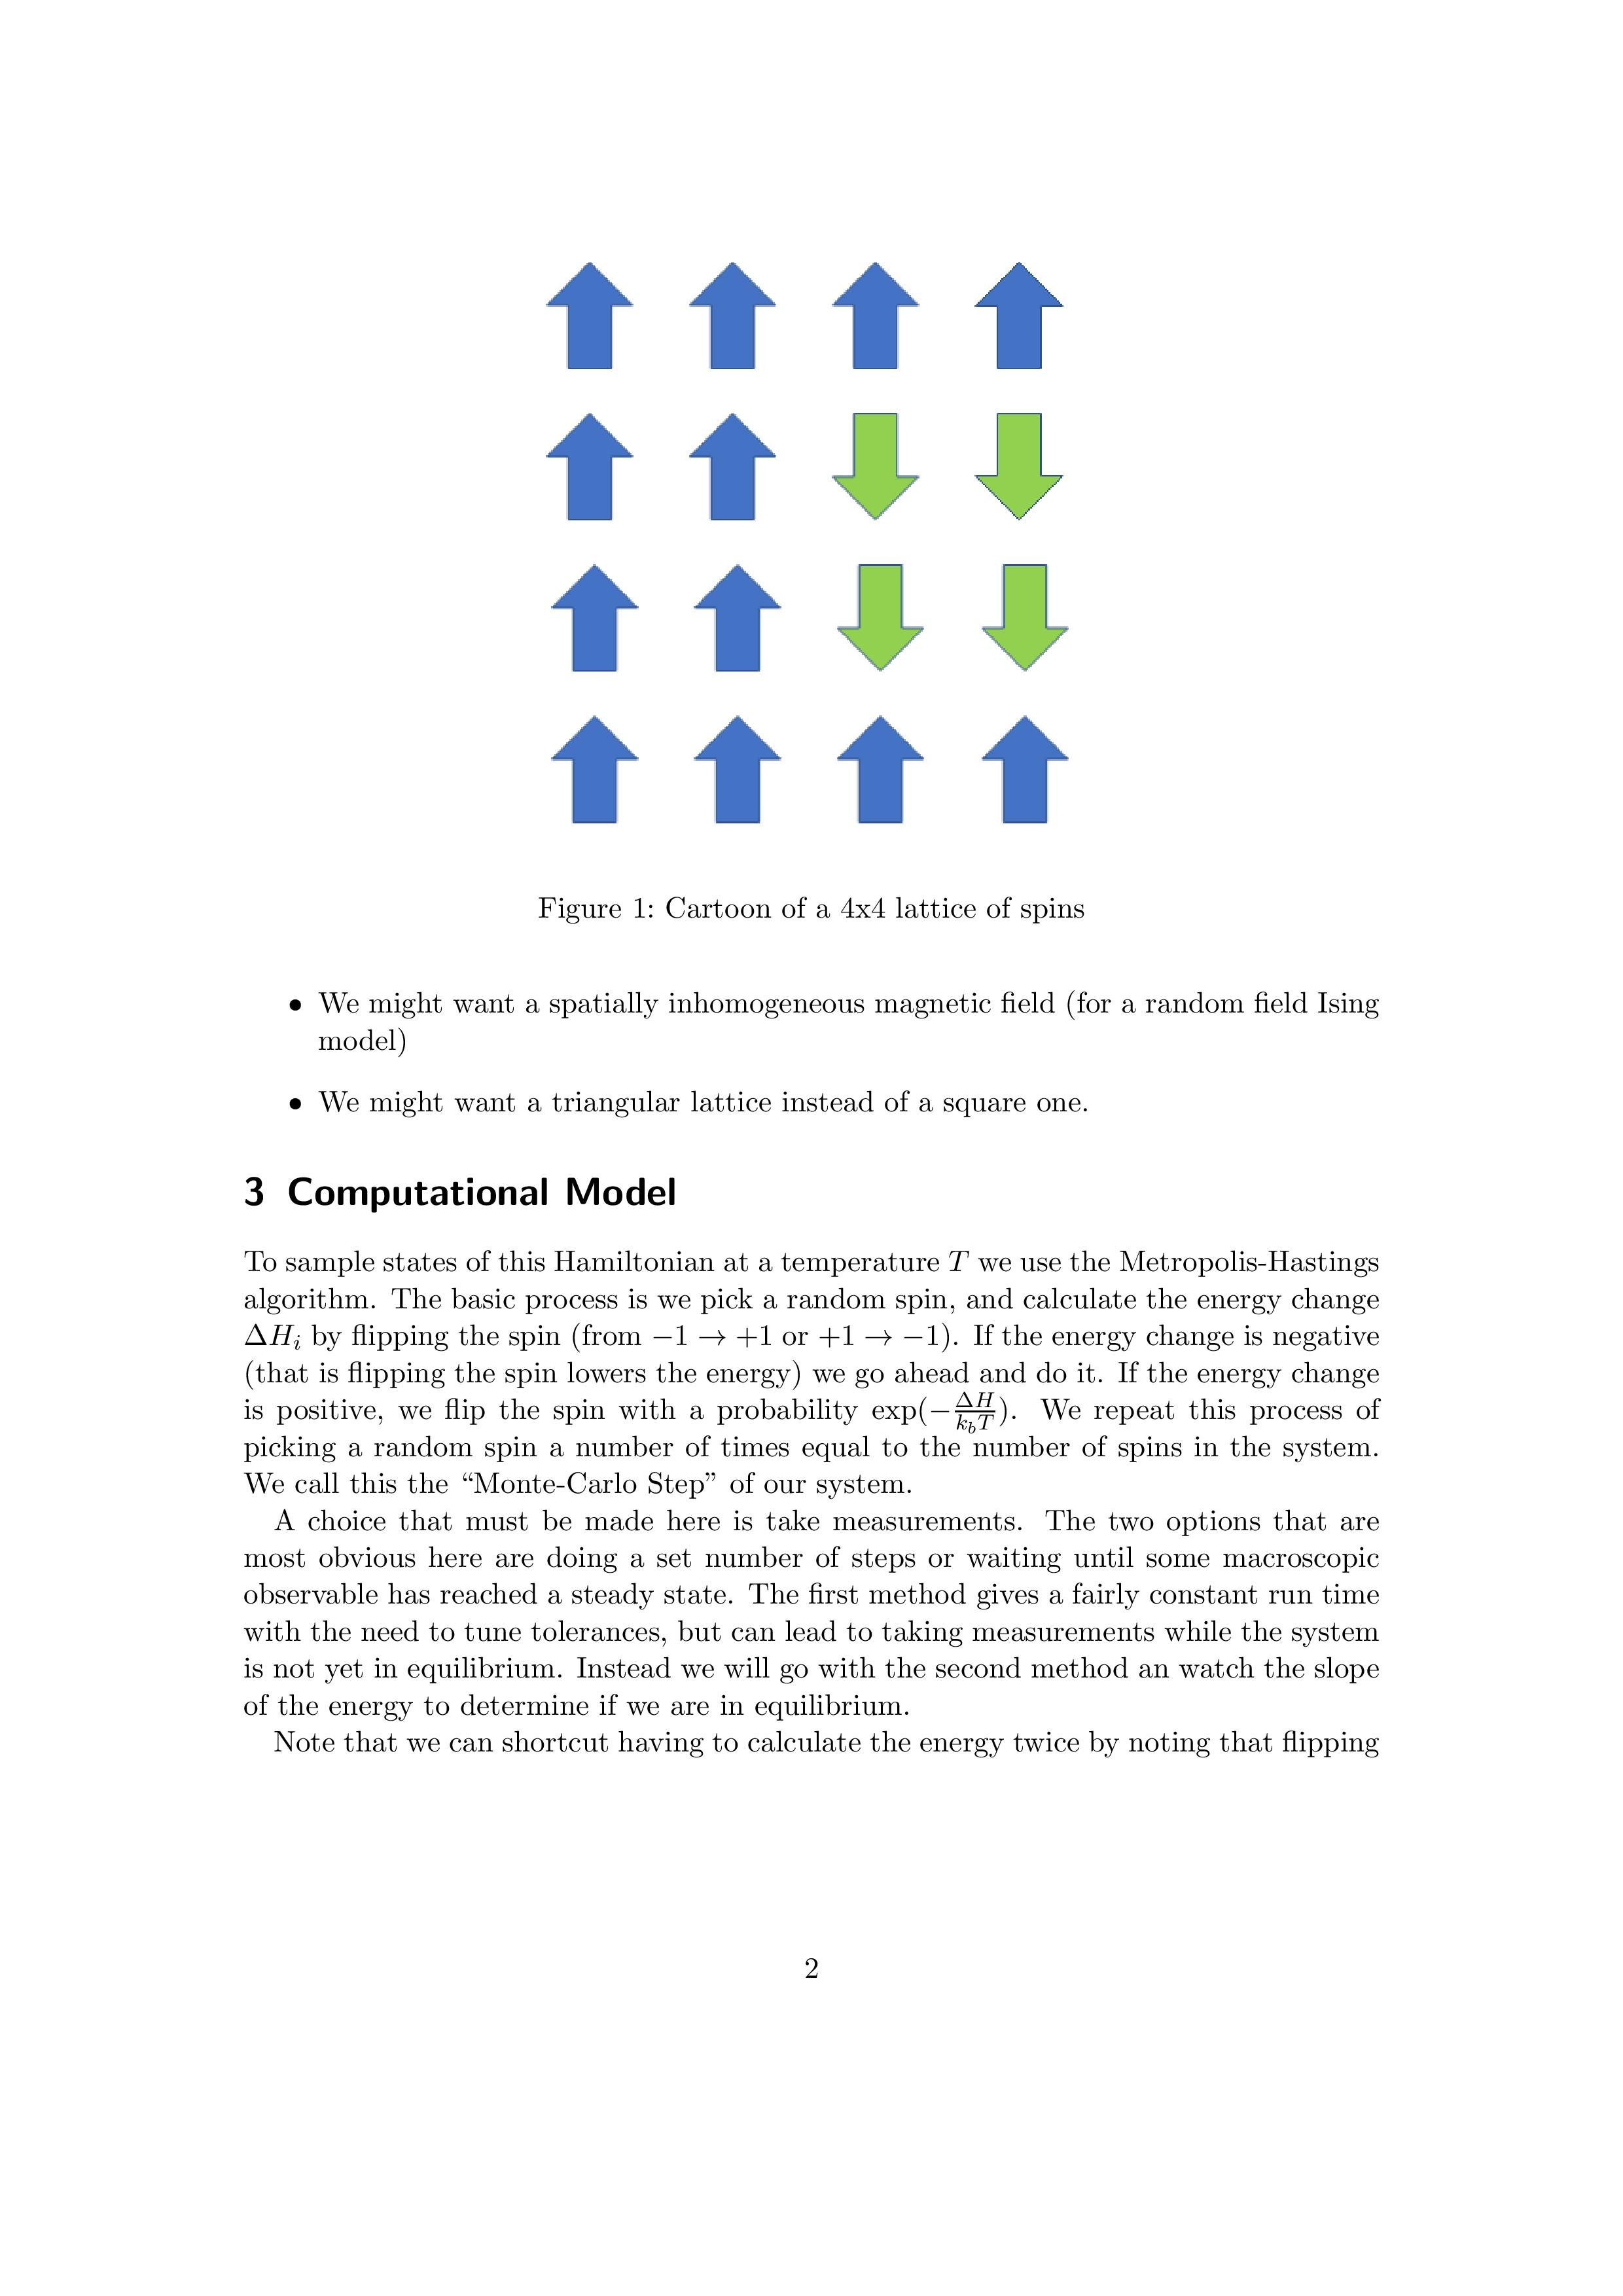
Feel free to add any graphics that make your point more clear
3. Here I introduce the exact problem to be solved in the code. The goal here is to eliminate all hand waving and give an exact description of what is being done. If your Mathematical Model has derivatives, here is where you should choose an approximation scheme and state it. If you have several choices on how to approximate an equation or a choice of algorithm to use it can be helpful to note the available options and why you went with the one you did. The reason may not be anything beyond “it was the first option we found” or “it looked the easiest to do.” Just write it down.
You can see how I discuss my options for the equilibration condition.
3. (cont’d.)
I’ve chosen to write the algorithm here in pseudocode, but things like flowcharts or a list of steps can be just as good.
Here are the last few choices to make numerically: How to know when the system has reached equilibrium, and how big to make the lattice.
4. Here I list out all the initial conditions I might want to look at. It’s easy to overdo it, so just worry about what you need for the experiments you want to run.
5. For this model there isn’t really an approximation needed to calculate the observables, so 5.1 and 5.2 are fairly similar. I go into a little more detail about how many measurements I’ll be making to calculate the variance. The main goal here is to give explicit instructions for all the measurements you carry out.
5.3 Finding new things to measure is one of the easiest things to do to extend a simulation. Putting a few forward-looking ideas here is a nice way to kick-start new experiments later.
6. Finally (for this post), I lay out the parameter sweeps I plan to do for each experiment.
Thats all for now. Next week I’ll go through some options for how to interact with a simulation, and I’ll talk a bit about the languages I’ll be using for this blog.
See you next week.


